

Hey there! As a supplier of the 48V Series, I'm super stoked to walk you through the process of installing these bad boys. Whether you're a DIY enthusiast or a professional installer, this guide'll help you get your 48V setup up and running smoothly.
Pre - installation Checks
Before you even think about getting your hands dirty, there are a few things you gotta check. First off, make sure you've got all the necessary tools. You'll need a set of wrenches, a screwdriver (both flat - head and Phillips), and maybe some wire cutters and strippers.
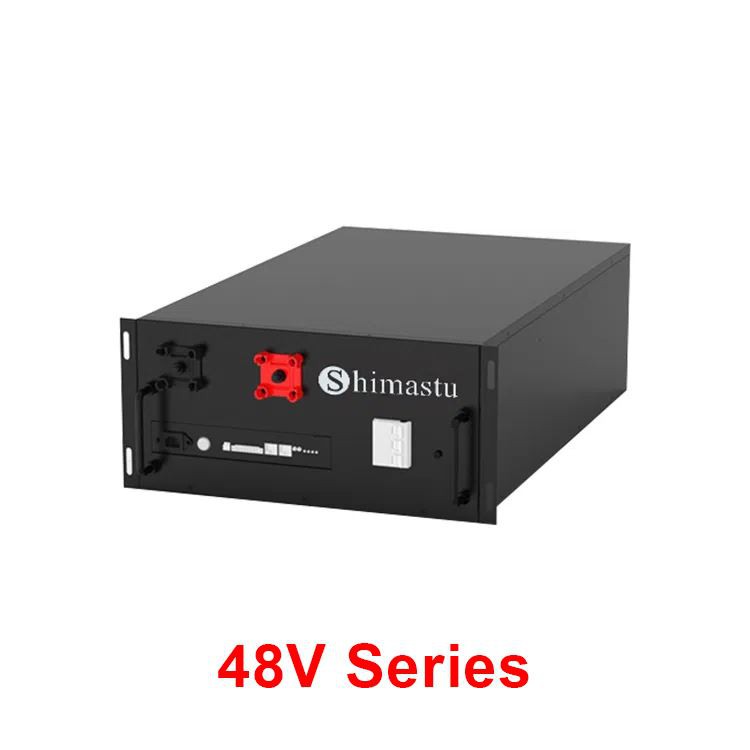
Next, take a good look at your 48V Series battery or system. Check for any visible damage like cracks, dents, or leaks. If you spot anything fishy, don't install it right away. Reach out to us, and we'll sort it out for you. You can check out more details about our 48V Lithium Battery on our website.
Also, make sure the installation area is clean, dry, and well - ventilated. These 48V systems can generate some heat, so proper ventilation is a must to prevent overheating. And of course, measure the space to ensure that your 48V Series fits perfectly.
Mounting the 48V Series
If you're installing a 48V battery pack, you'll need to mount it securely. Most of our 48V Series comes with mounting brackets. Use your wrenches to attach these brackets to a stable surface. Make sure the surface can handle the weight of the battery pack.
For wall - mounted installations, drill holes in the wall according to the bracket's template. Then, insert wall anchors and screw the brackets into place. Once the brackets are up, carefully lift the battery pack and place it on the brackets. Secure it with bolts or screws provided.
If you're installing a 48V inverter or charger, find a spot near the battery. It should be close enough for easy wiring but far enough to avoid any interference. Mount it using the same process as the battery pack, making sure it's level and firmly attached.
Wiring the 48V System
Now, let's talk about wiring. This is where things can get a bit tricky, but don't worry, I'll break it down for you.
First, identify the positive (+) and negative (-) terminals on your 48V battery. They're usually marked clearly. Use insulated wire to connect the battery terminals to the appropriate terminals on your inverter or charger. Make sure to use the right gauge of wire. Thicker wire is better for carrying more current, which is crucial for a 48V system.
When connecting the wires, use wire connectors to ensure a tight and secure connection. Strip the ends of the wires, insert them into the connectors, and crimp them using a crimping tool. Double - check the connections to make sure there are no loose wires.
If you're connecting multiple 48V batteries in series, connect the positive terminal of one battery to the negative terminal of the next battery. This will increase the voltage of the overall system. For example, if you connect two 48V batteries in series, you'll get a 96V system. But make sure all the batteries are of the same type and capacity.
Grounding
Grounding is an important safety step. Connect a grounding wire from the grounding terminal of your 48V system to a proper grounding point. This helps protect against electrical shocks and reduces the risk of electrical fires.
The grounding point should be a metal rod driven into the ground or a metal water pipe that's connected to the ground. Use a grounding clamp to attach the wire to the grounding point.
Testing the System
Once you've finished wiring and grounding, it's time to test the system. Before you turn it on, double - check all the connections one more time. Make sure everything is tight and there are no exposed wires.
Turn on the power switch on your inverter or charger. Check the display to see if it's showing the correct voltage and other parameters. If everything looks good, you can start connecting your devices to the 48V system.
If you encounter any issues during the testing phase, don't panic. Check the wiring again, and refer to the user manual that comes with your 48V Series. You can also visit our website to learn more about our 48V Lithium Battery and troubleshooting tips.
Maintenance Tips
After the installation, regular maintenance is key to keep your 48V Series running smoothly. Check the battery's electrolyte level (if it's a lead - acid battery) every few months. For lithium - ion batteries, monitor the charging and discharging cycles.
Keep the installation area clean and free of dust and debris. Inspect the wiring periodically for any signs of wear or damage. And if you're not using the system for a long time, make sure to charge the battery to prevent self - discharge.
Contact Us for Purchasing
If you're interested in our 48V Series, whether it's for a new installation or to replace an old system, we'd love to hear from you. We offer high - quality 48V products at competitive prices. Our team of experts can also provide you with more detailed installation guides and support. Just reach out to us, and we'll start the conversation about your 48V needs.

References
- General knowledge of 48V system installation
- Manufacturer's manuals for 48V Series products


